I used a raspberry pi to build a weather display
I built a thing that displays the current weather (it updates every 10 minutes). It's a raspberry pi connected to an e-ink display, and a python script that runs every 10 minutes, which also updates the screen.
You can find the script here
Here's a GIF of it in action
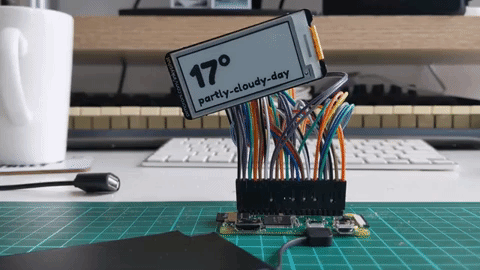
The pi is connected to the inkyphat display via a 40x 20cm Male-Female Jumper Wire Cable (see here).
I didn't know how to solder (at the time of writing this), so I ended up using the GPIO Hammer Header to add female headers to the pi so I can plug the jumper wire cables into. Here's a video on how to use the hammer header.
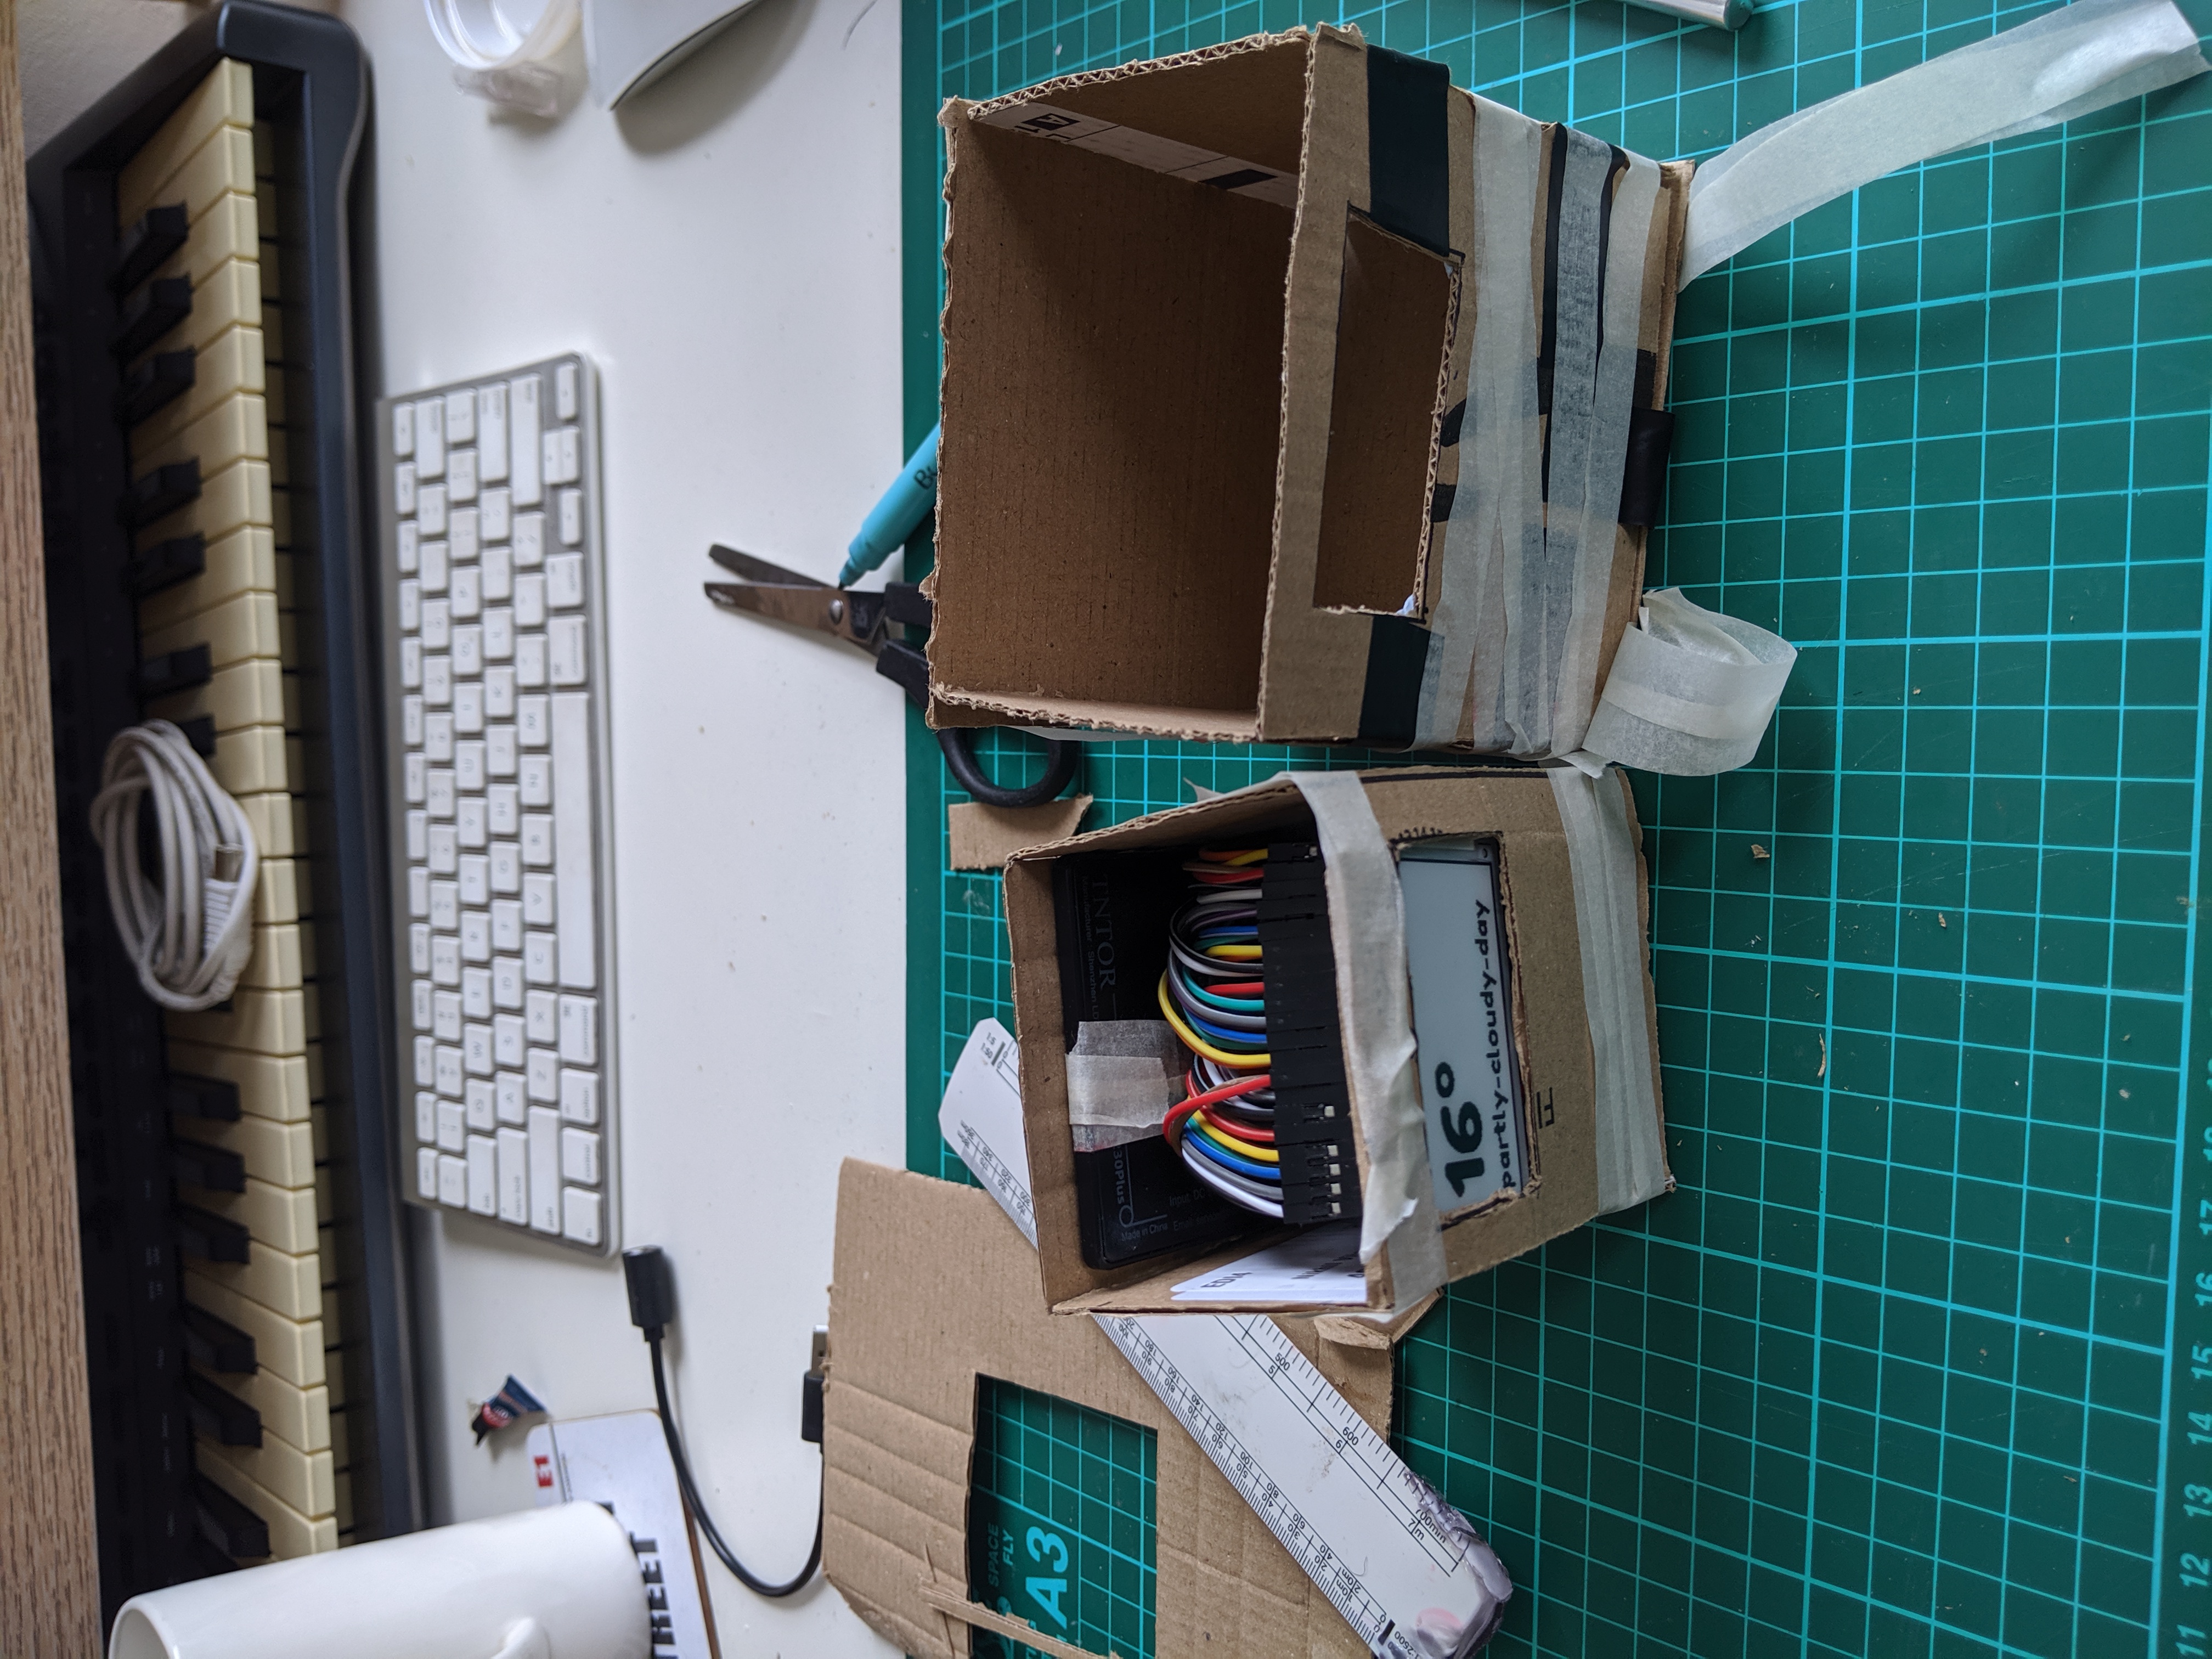
Prototyping a case
I wanted a case to house the thing as I don't like naked wires (especially for a thing that you may have to look at every day). I considered 3D printing, but then realised I didn't have enough time to learn the ropes of yet another thing. As cool as I think it would be, I really like making progress on projects, especially since I'm working on this mostly during the weekends.
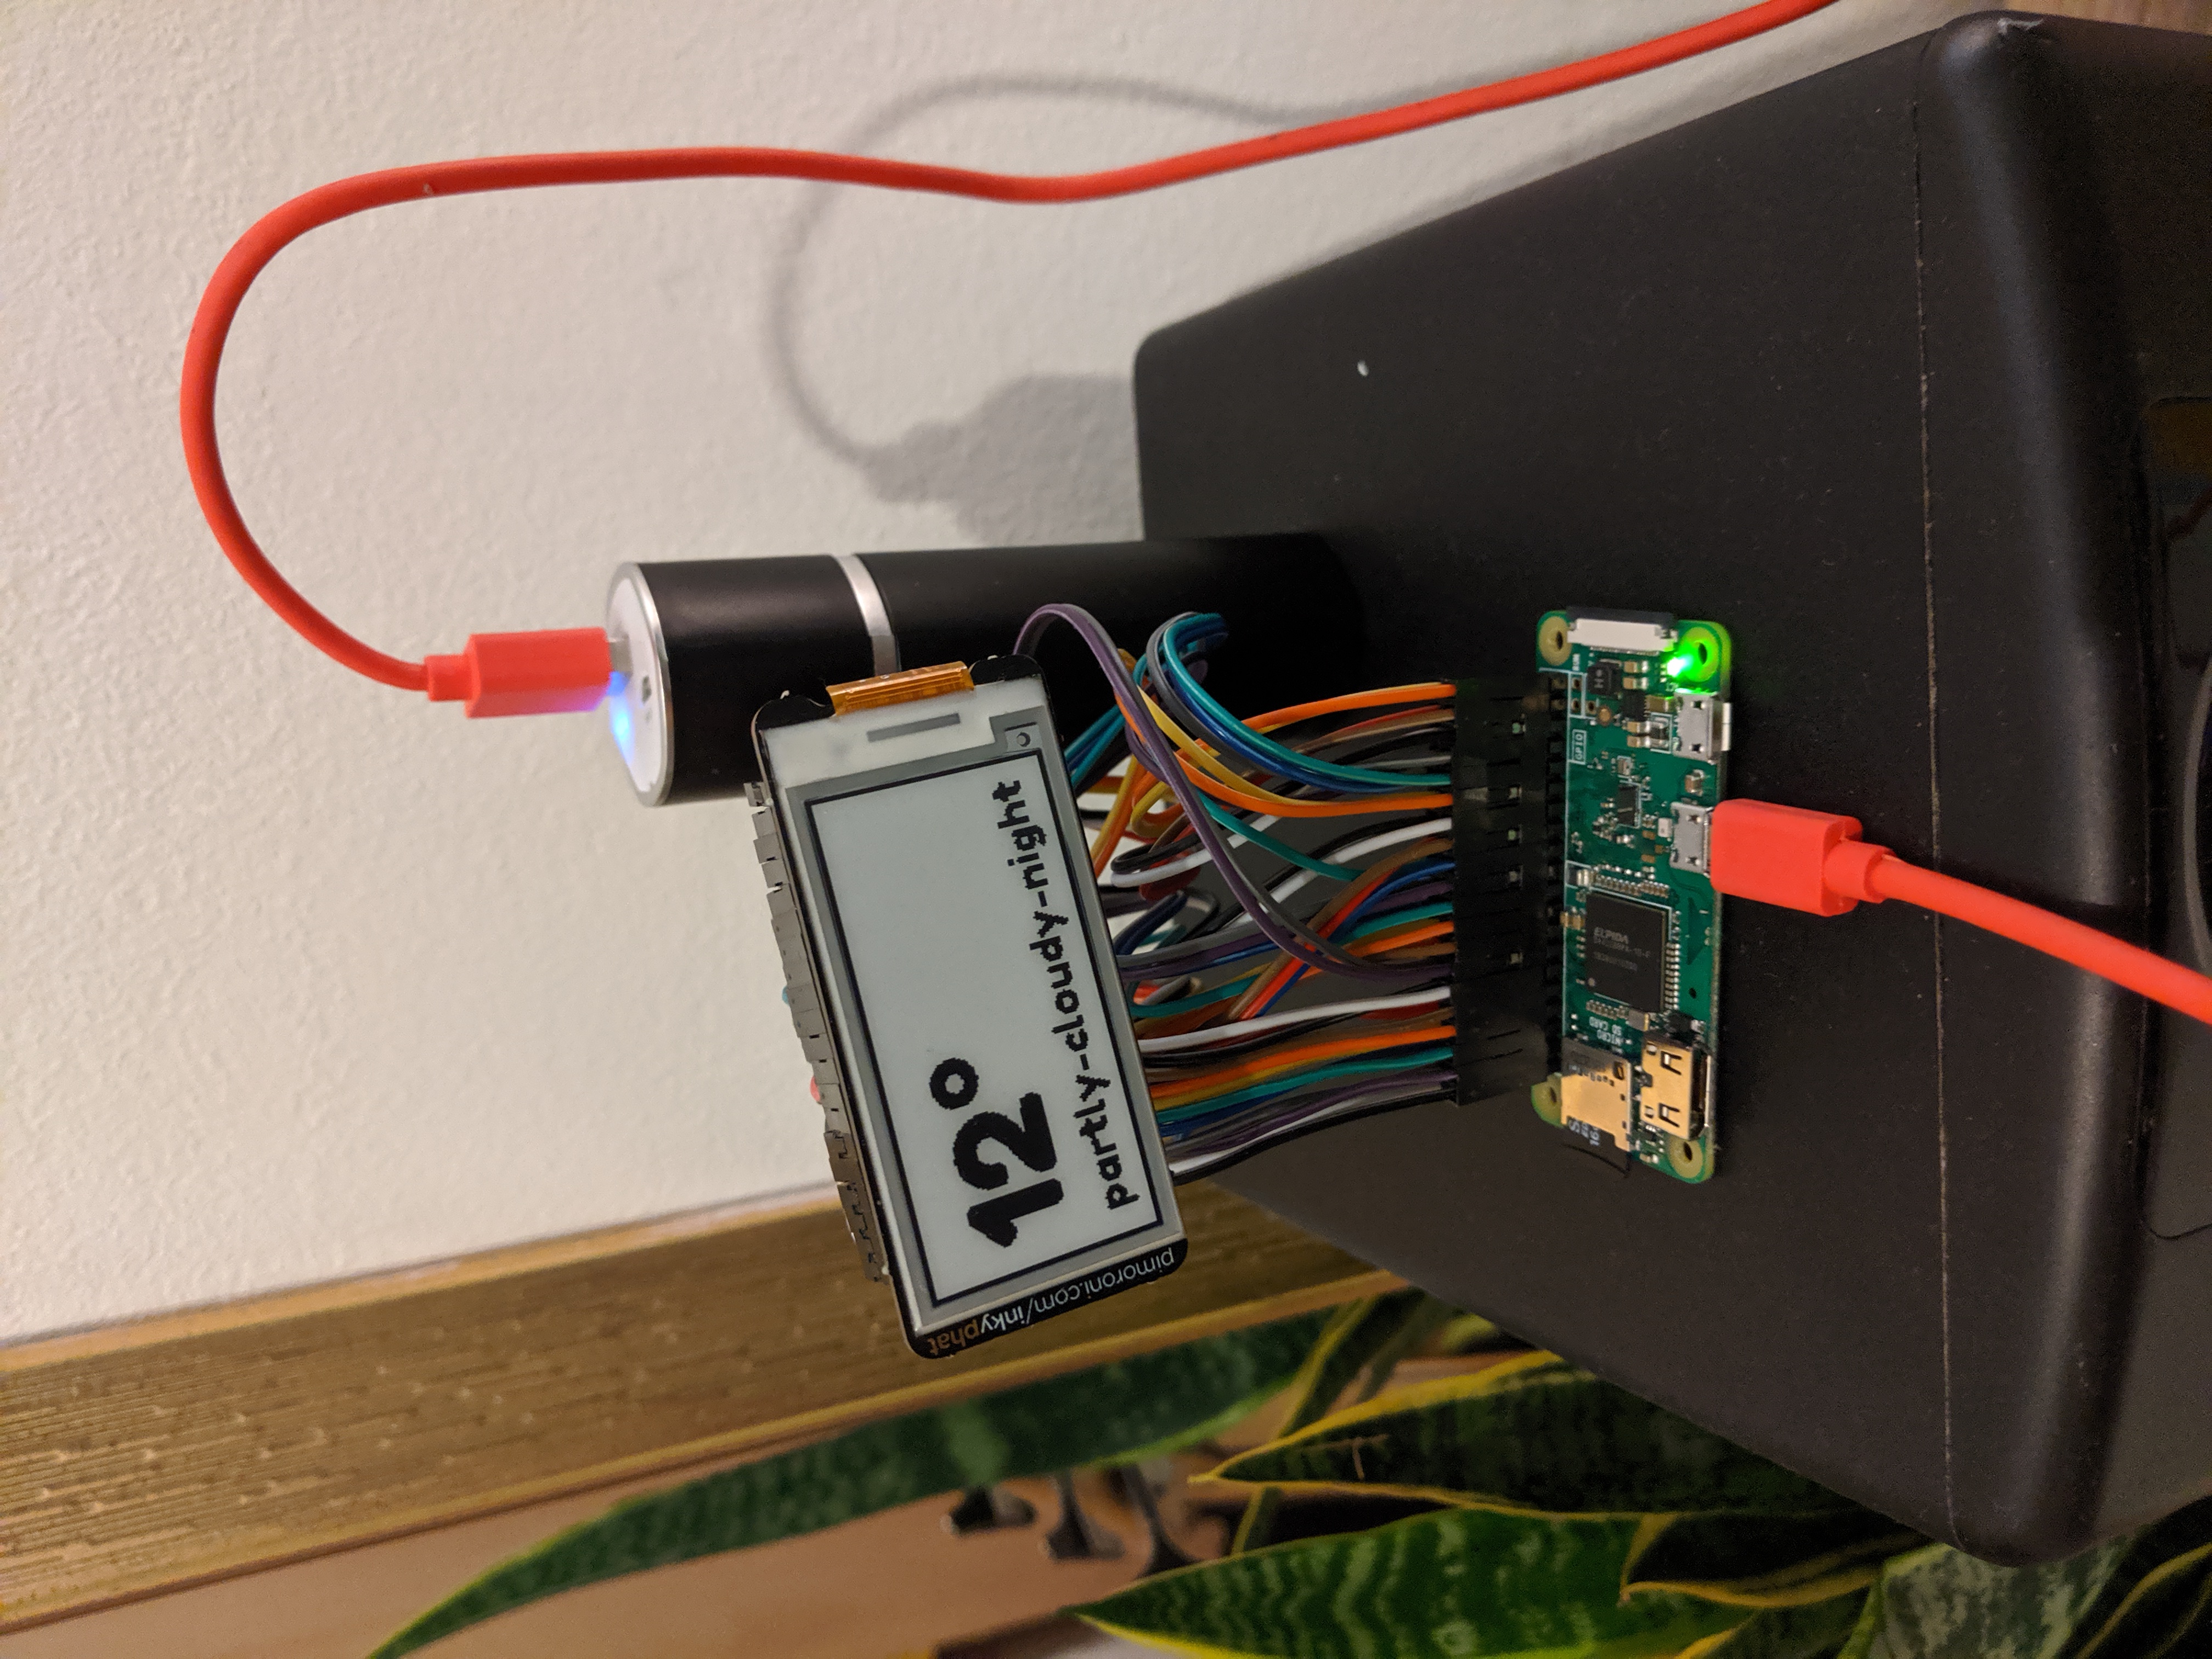
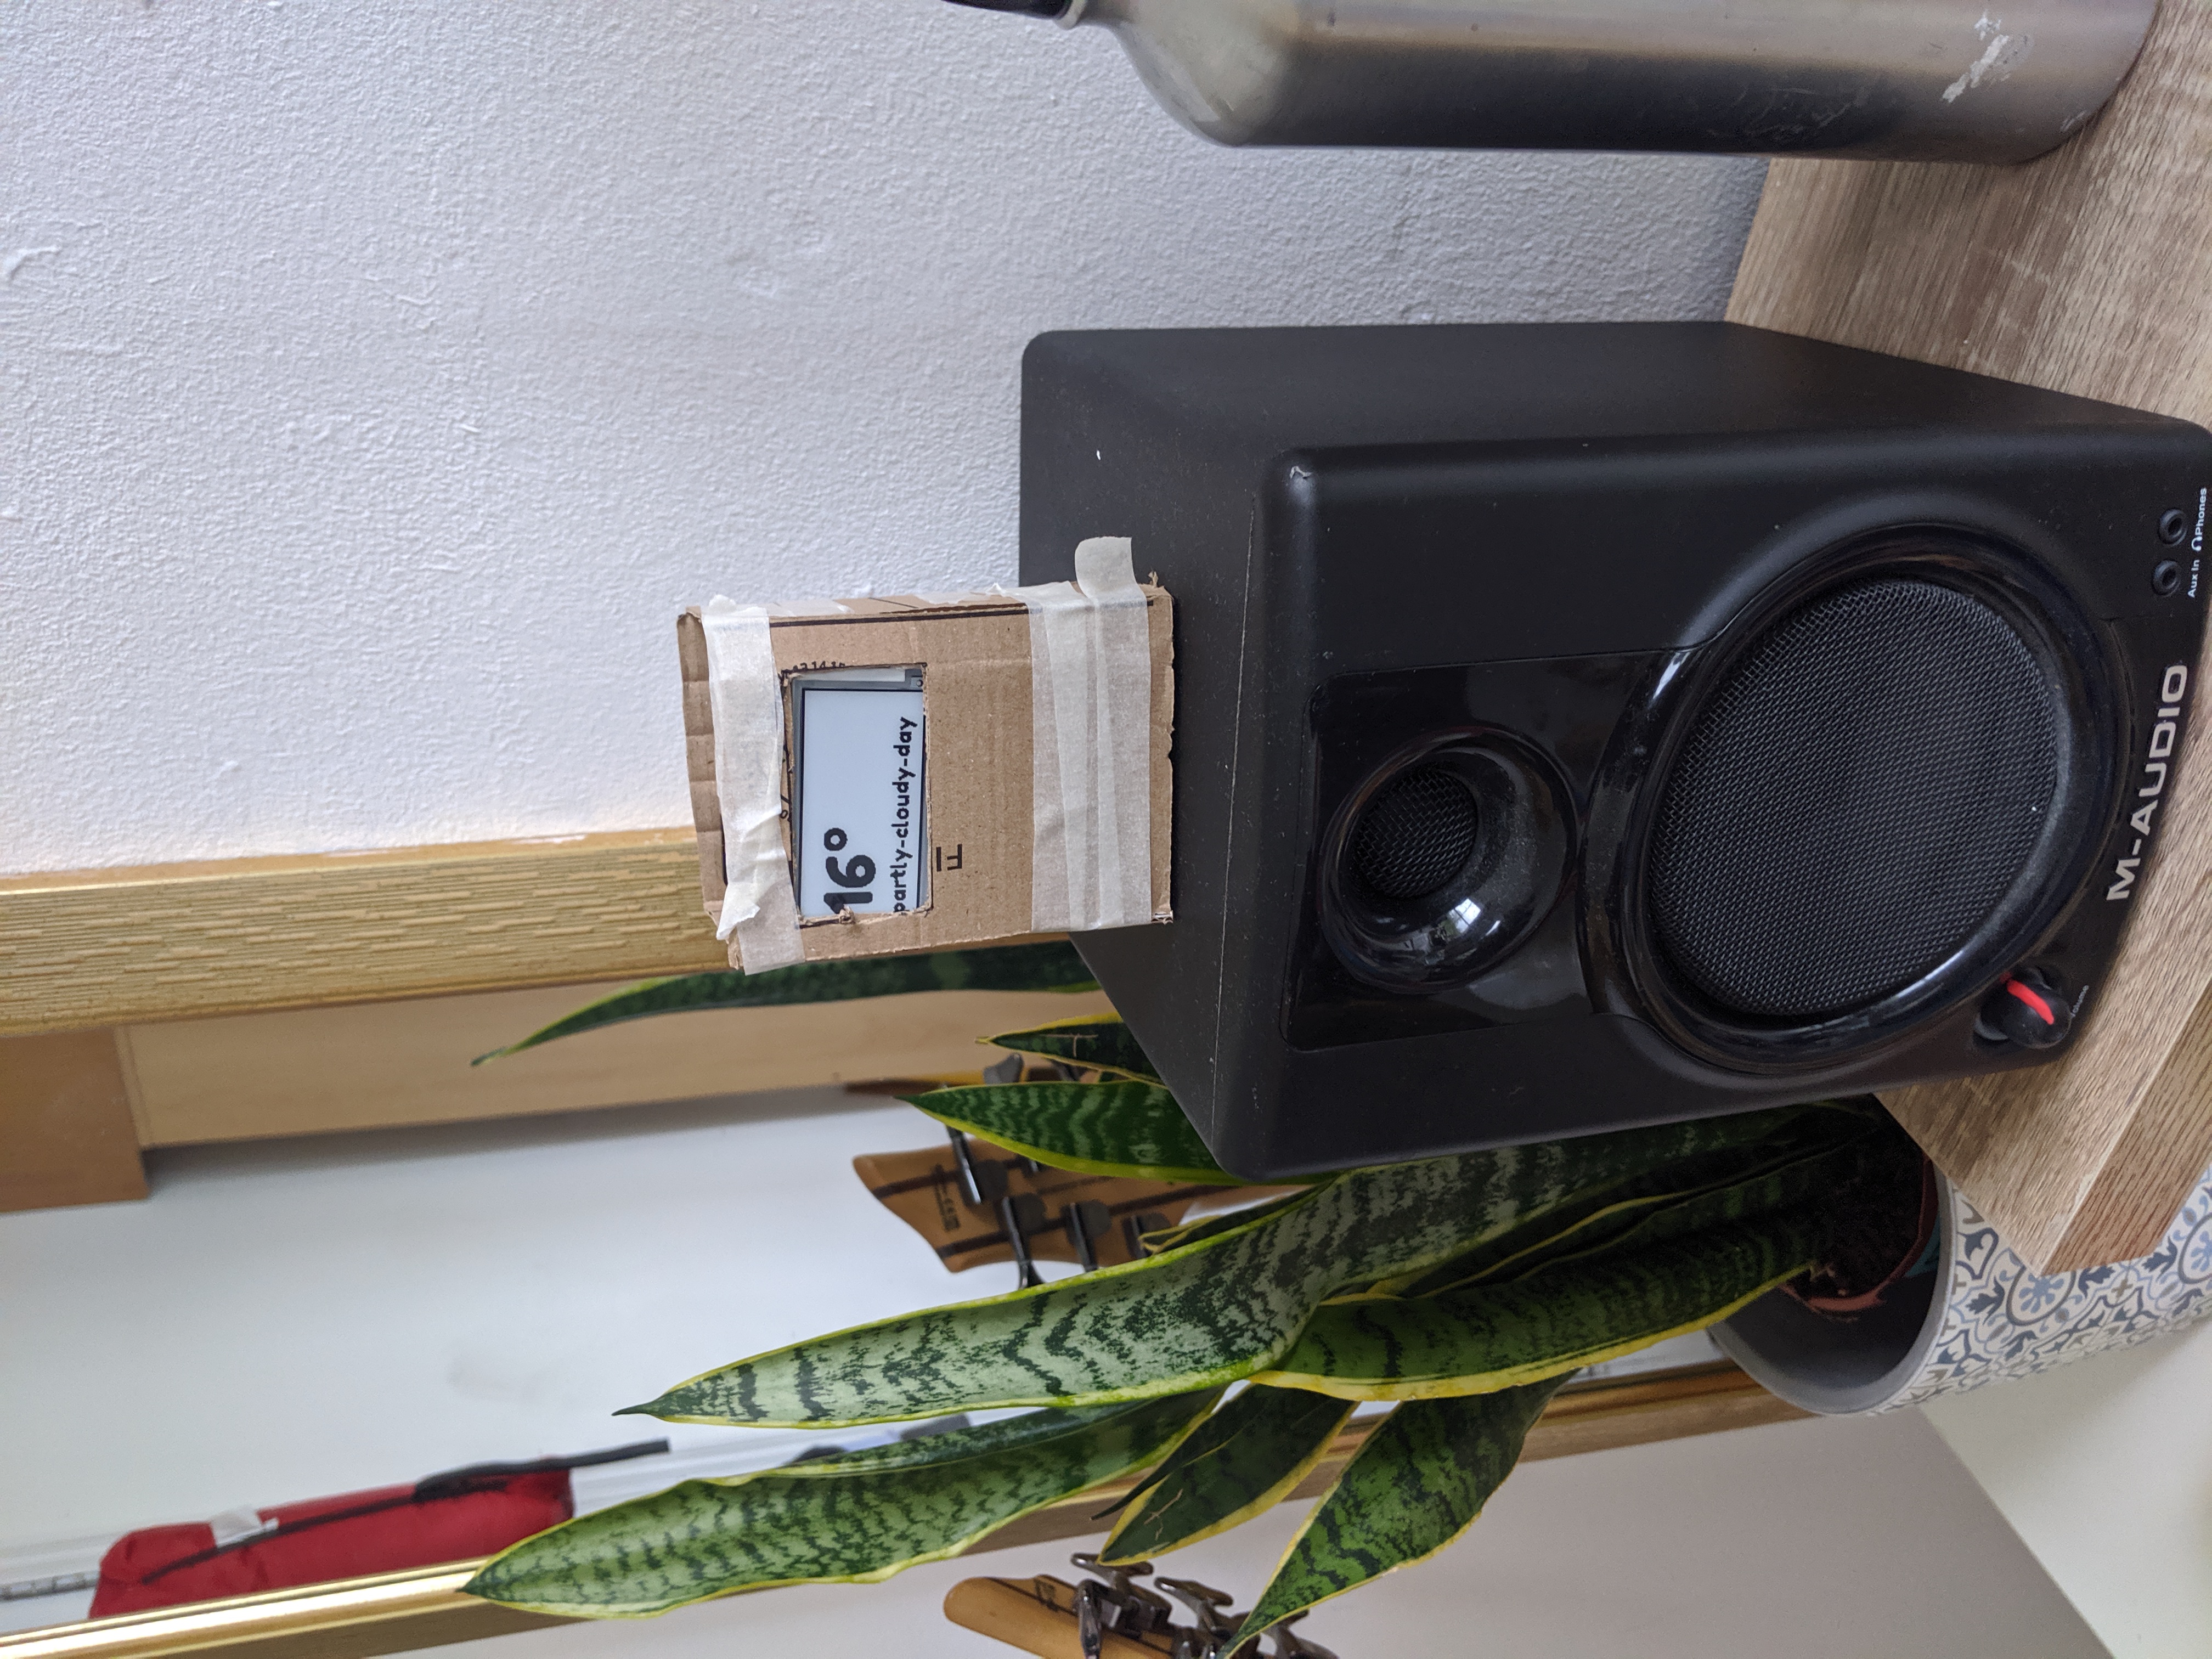
Initially, I was going for a case that could house a battery. I went with using a cheap credit-card shaped phone charger. This is embarrassing to admit, because it would have taken me all of 30 minutes to get my head around how much power a pi zero w would need to know a credit-card shaped one would not keep the pi alive for more than a few hours.
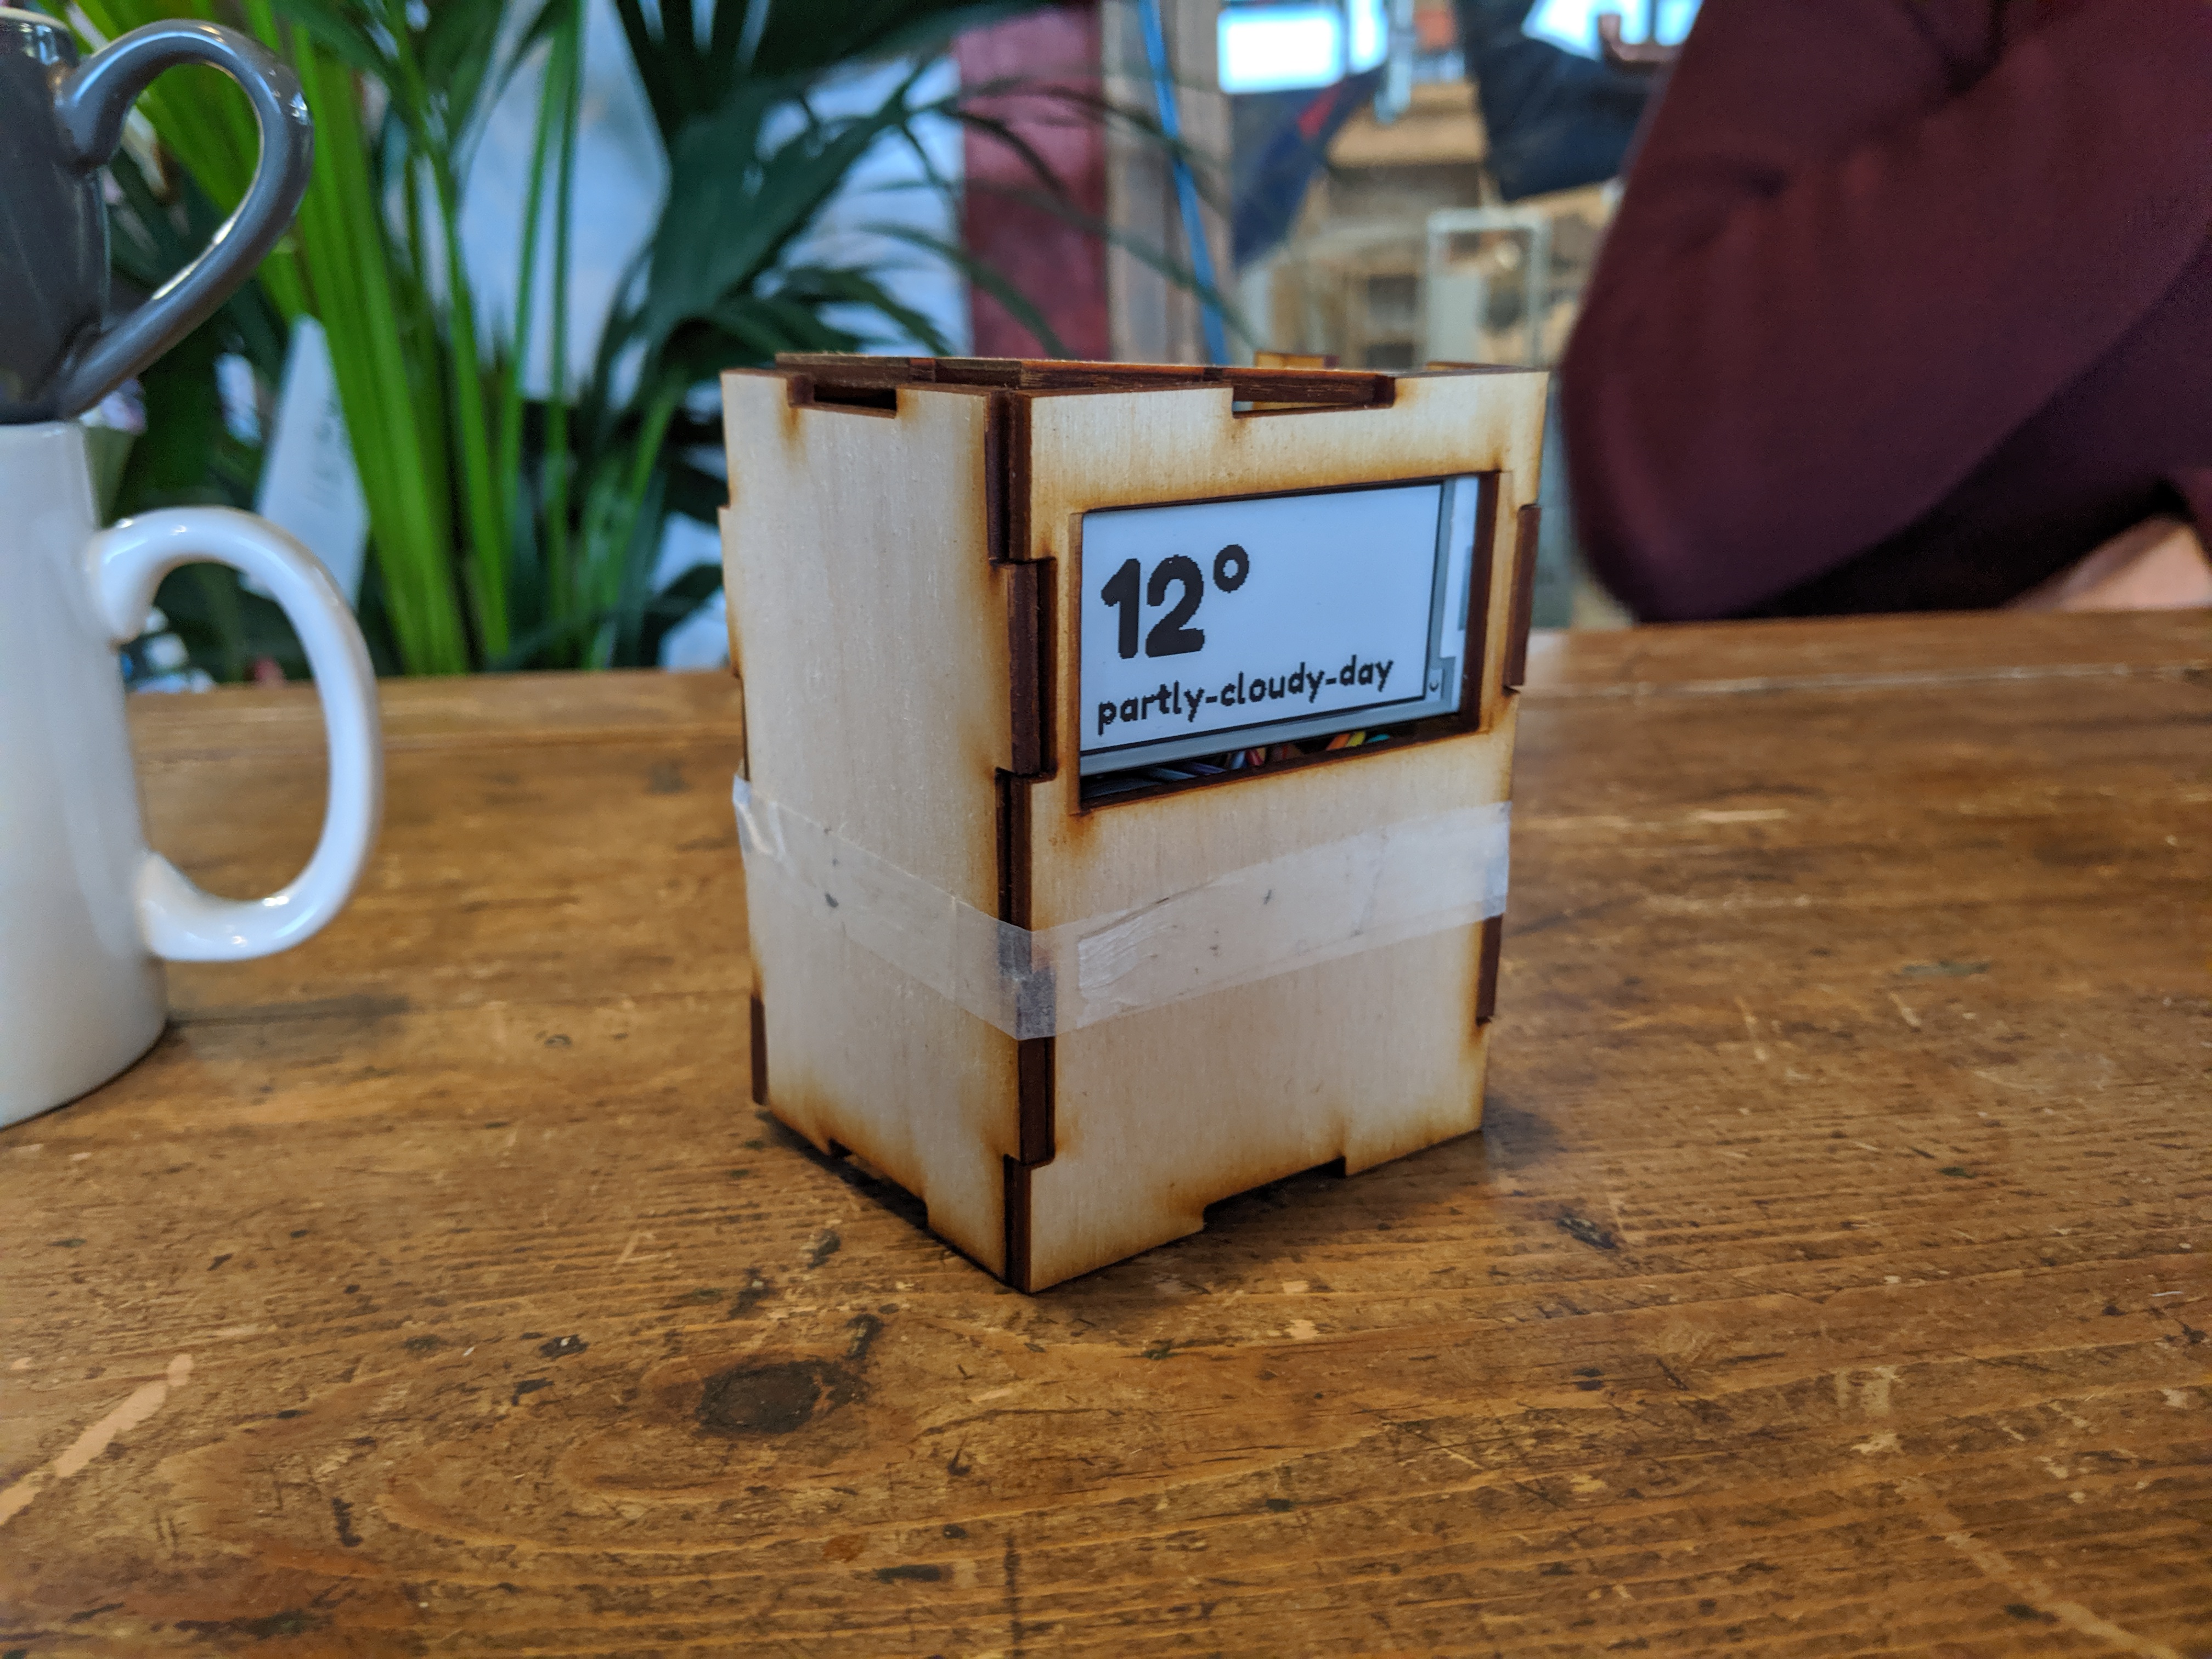
Here's what I ended up with:
Laser cutting the case
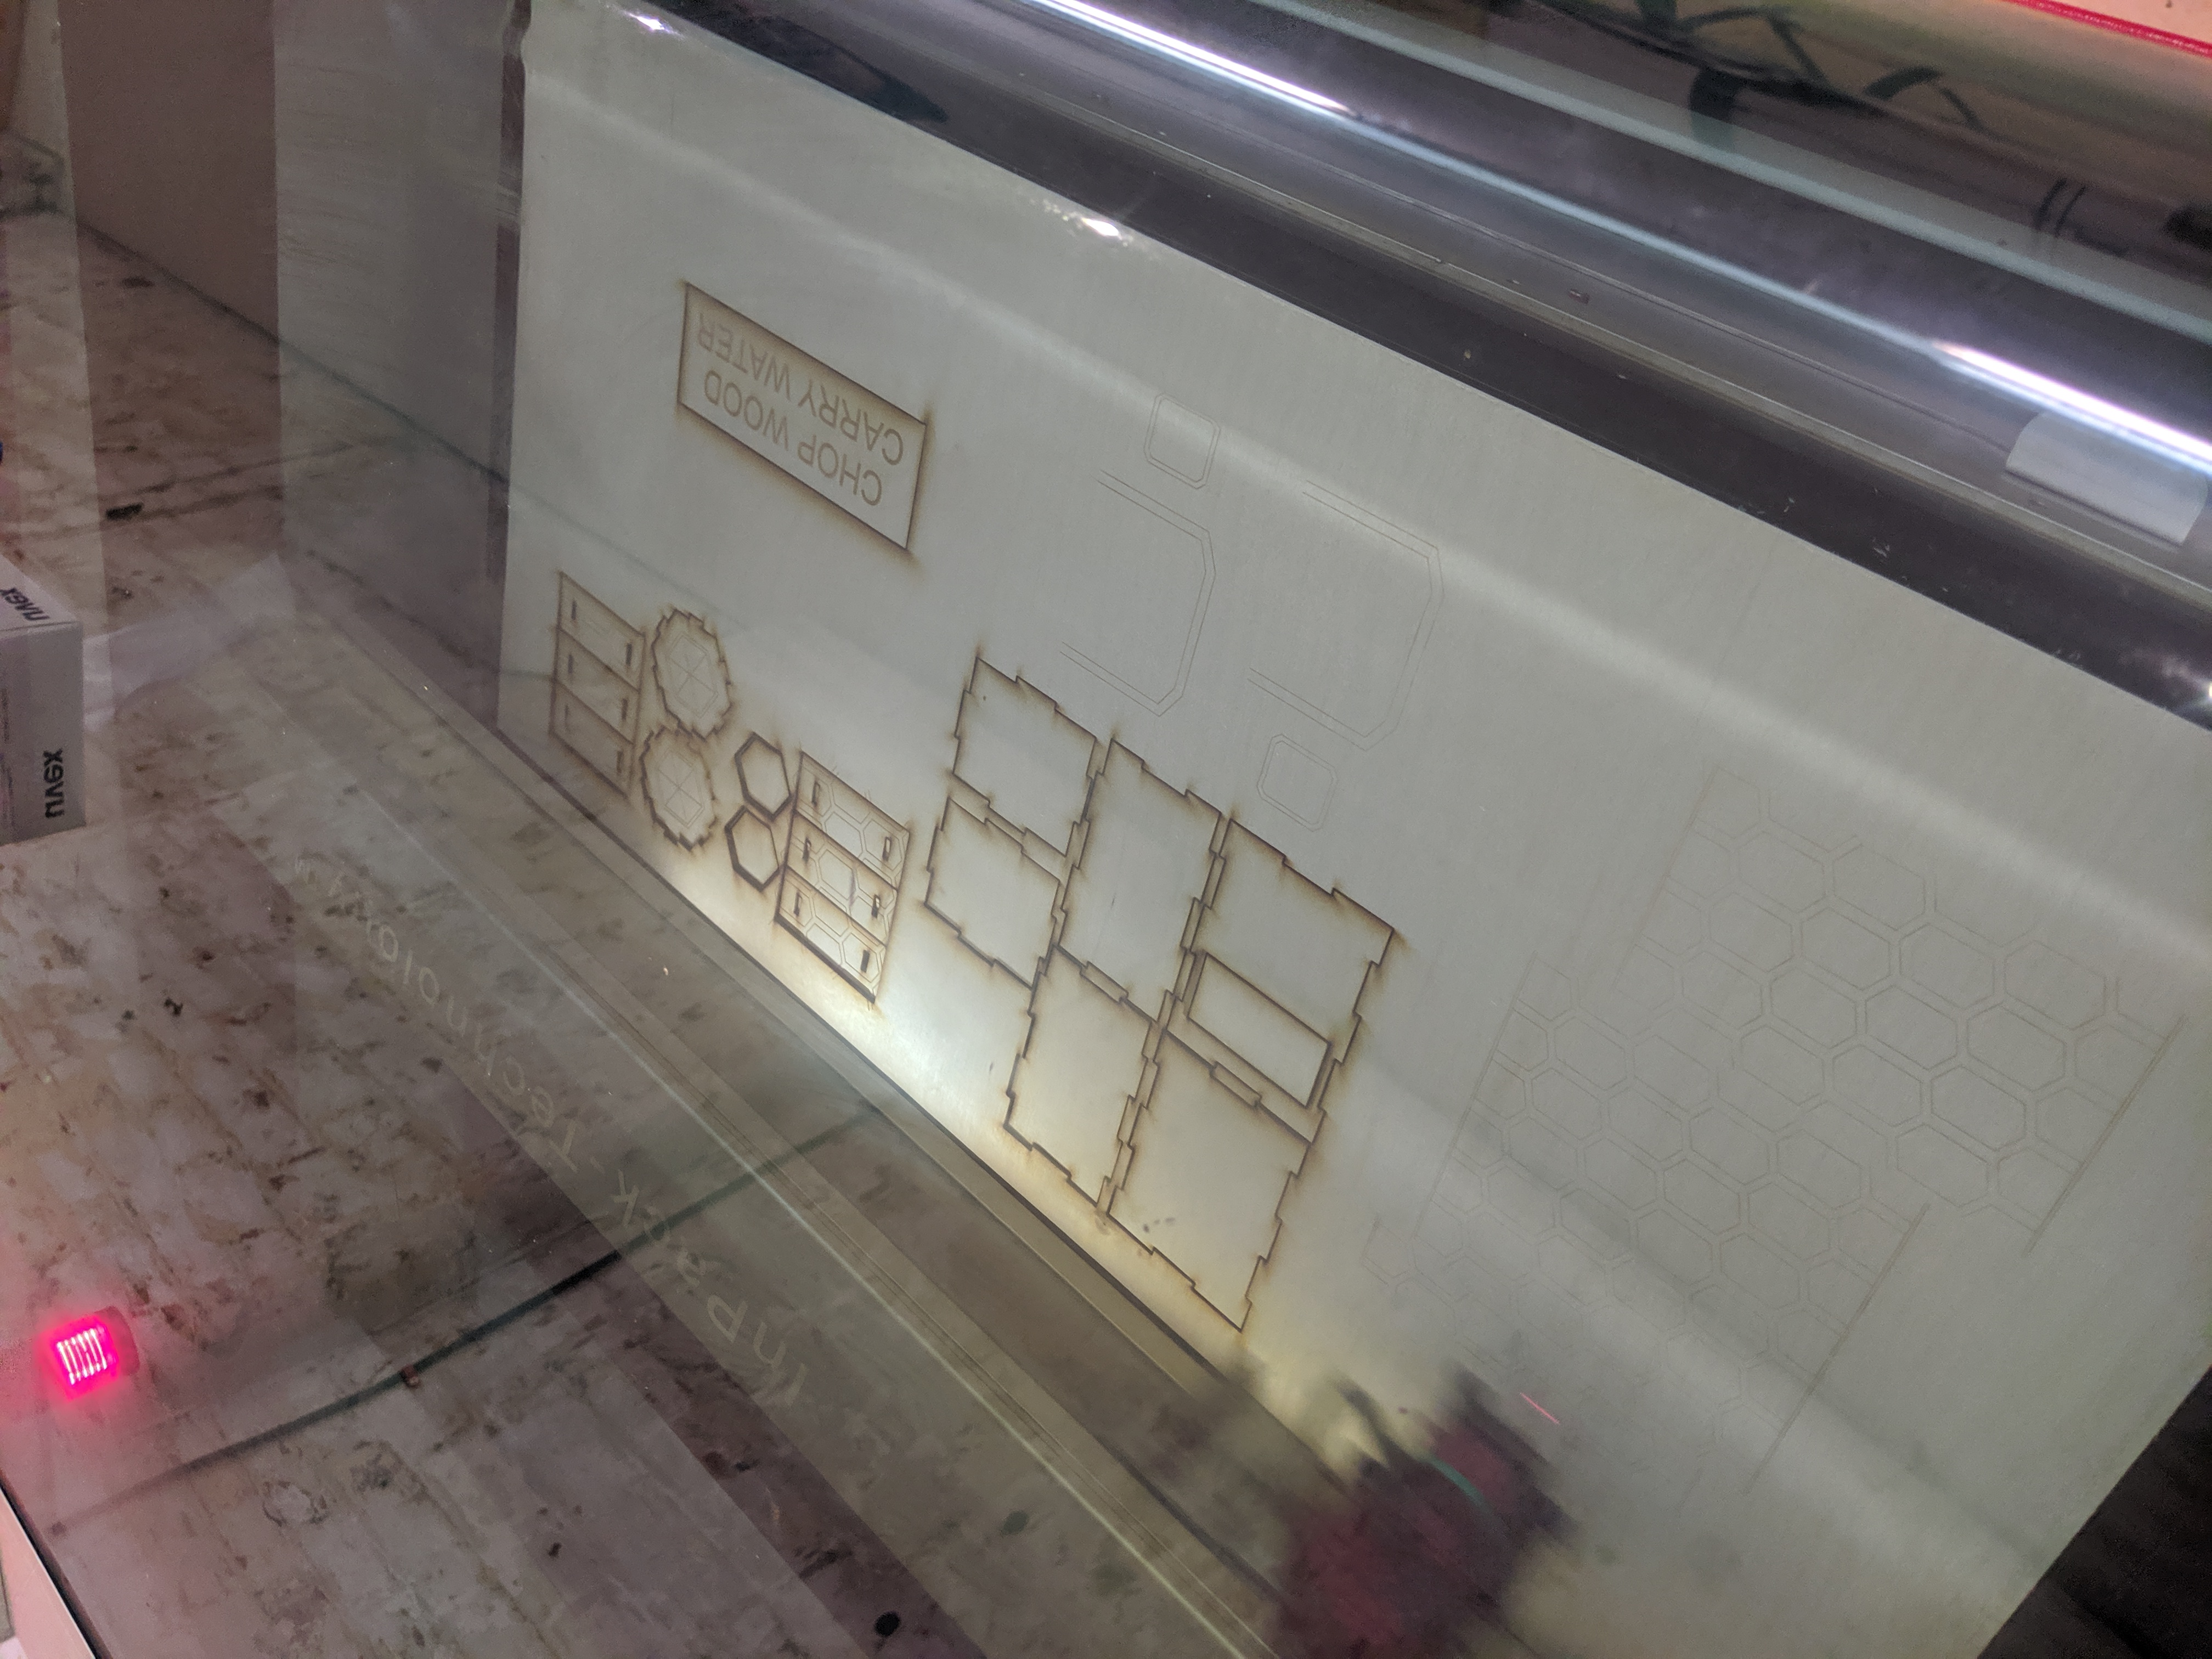
I had access to a laser cutter at a local woodworking space so I decided to laser cut the case for this project.
I found makercase.com that will give you a ready to cut file that you can use. I went with 3mm thick laserply because it was relatively cheap and forgiving when you make mistakes.
Here's the laser cutter in action
The unfinished piece
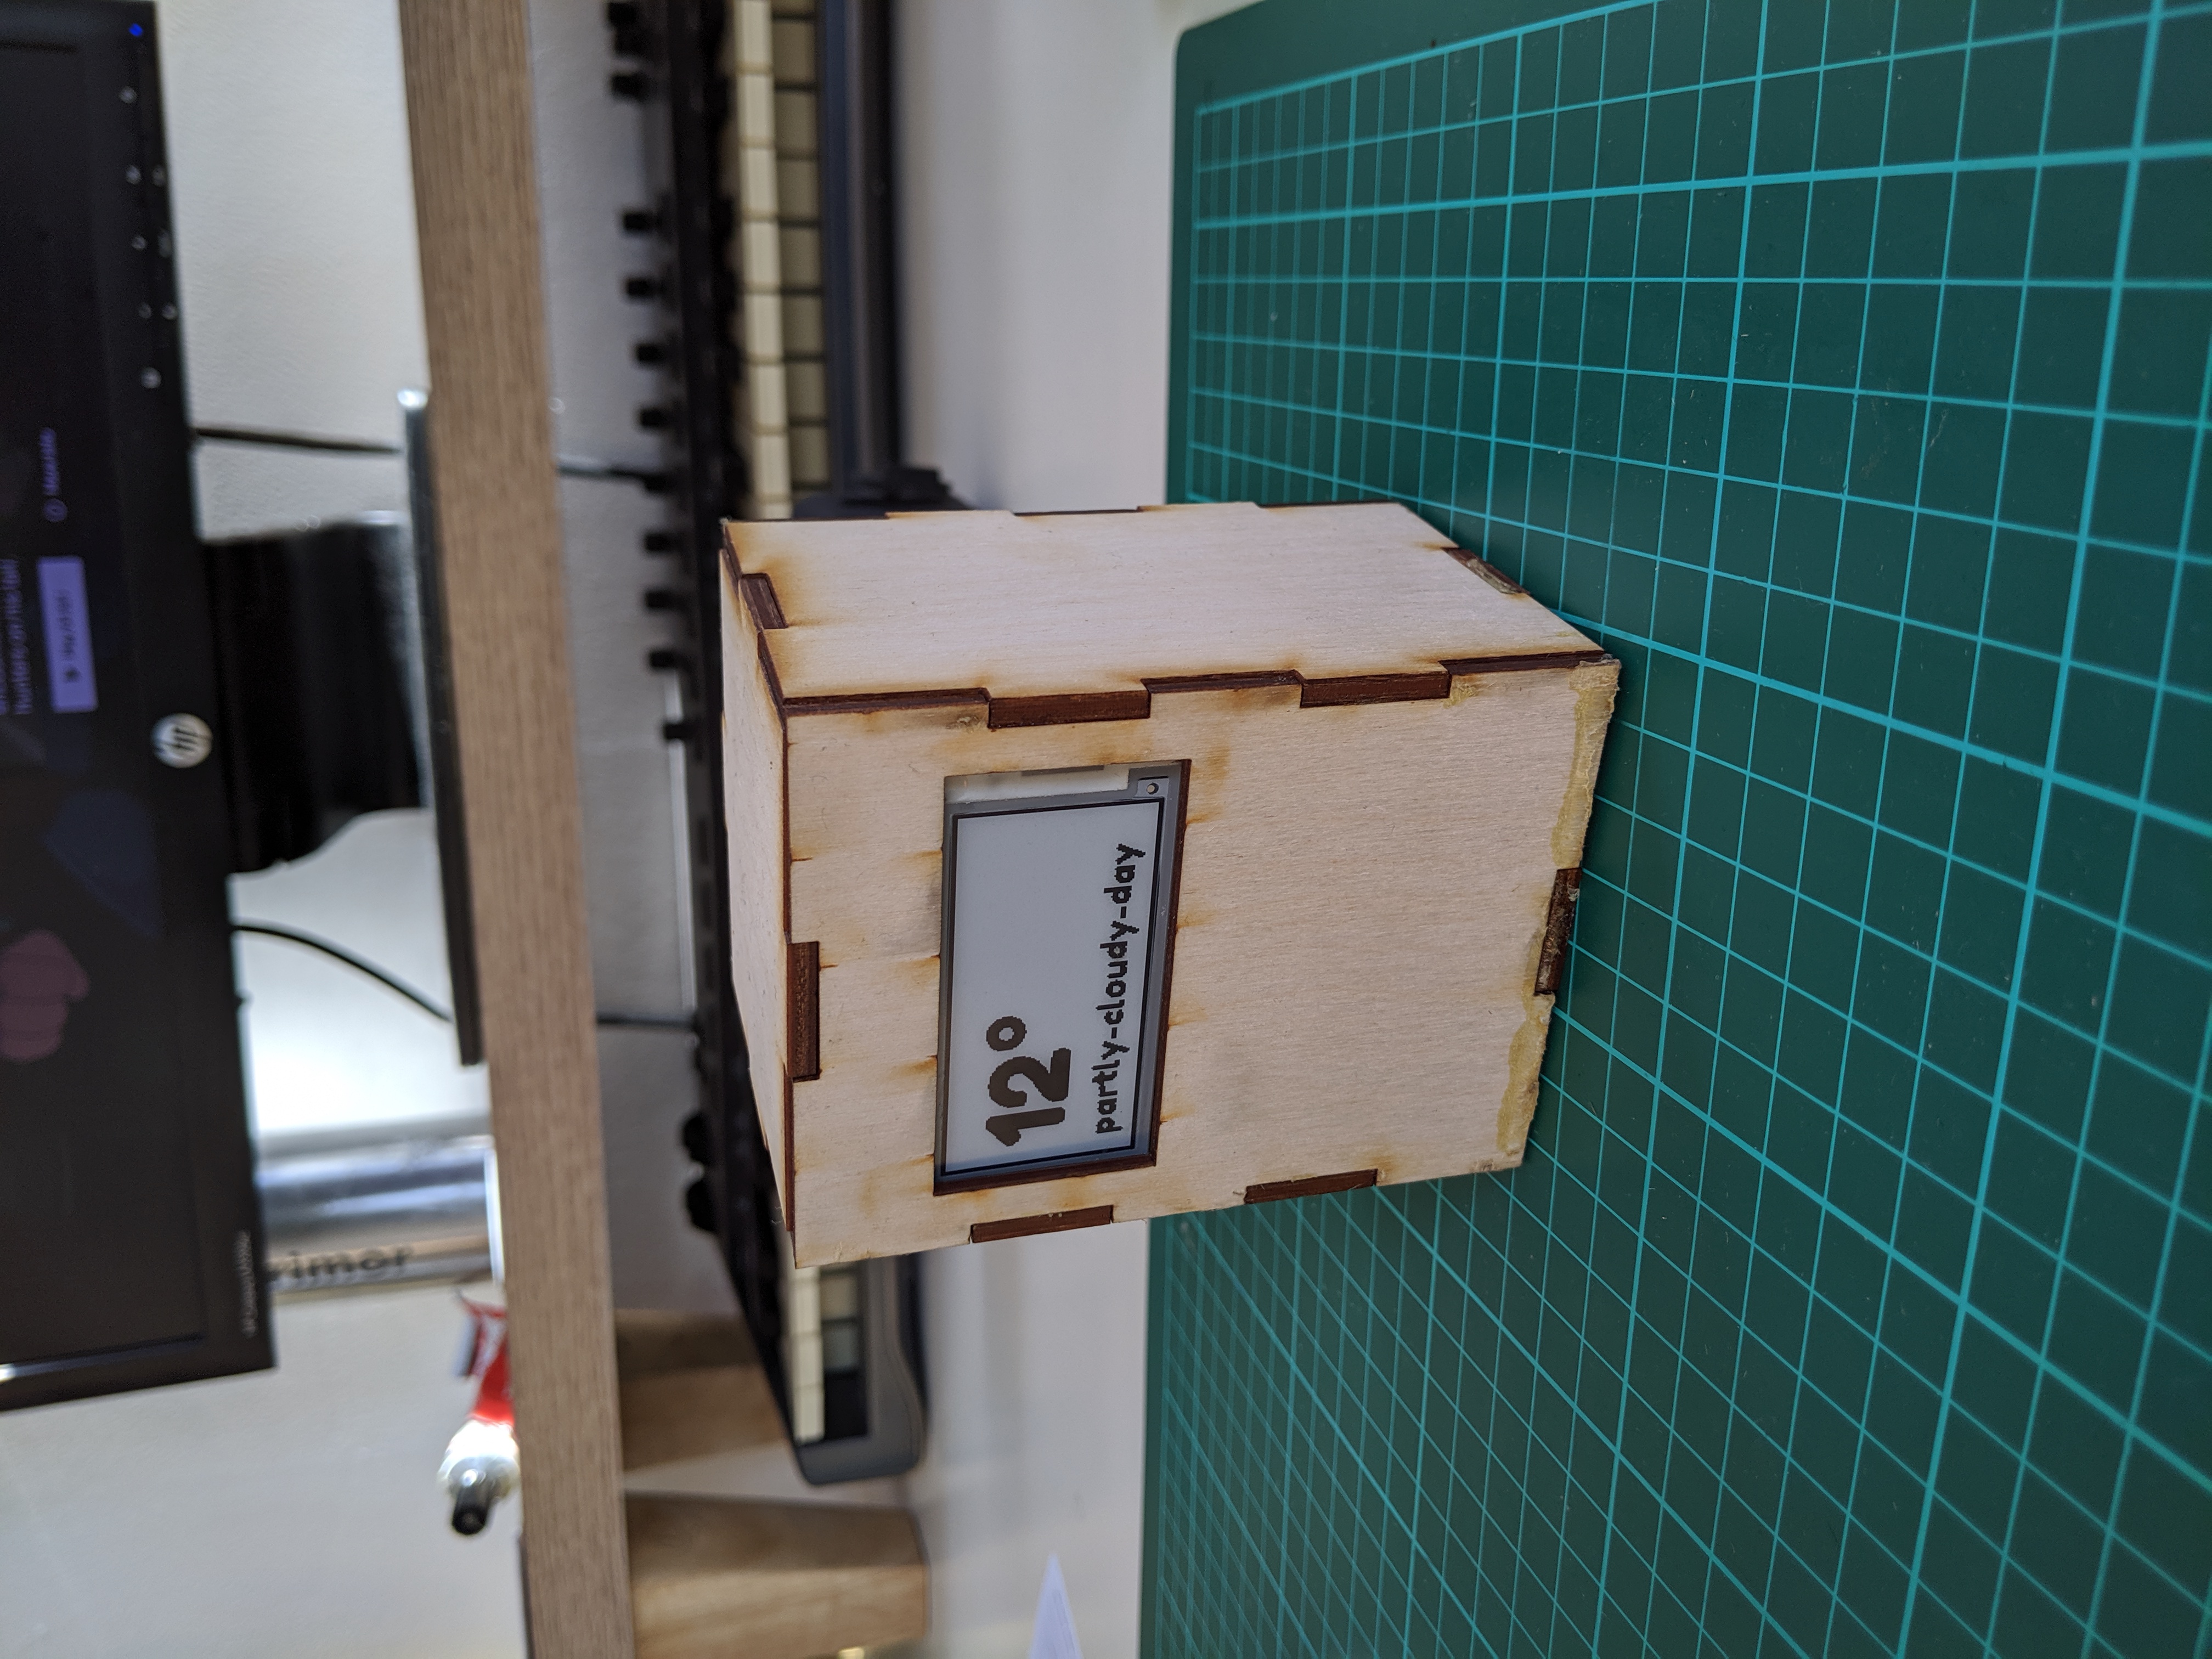
I'm not entirely done with this yet - this is still a work in progress. I'll update this post when I do make more changes, but I wanted to start documenting what I've done on it so far.
The source code for this website can be found here under an MIT license